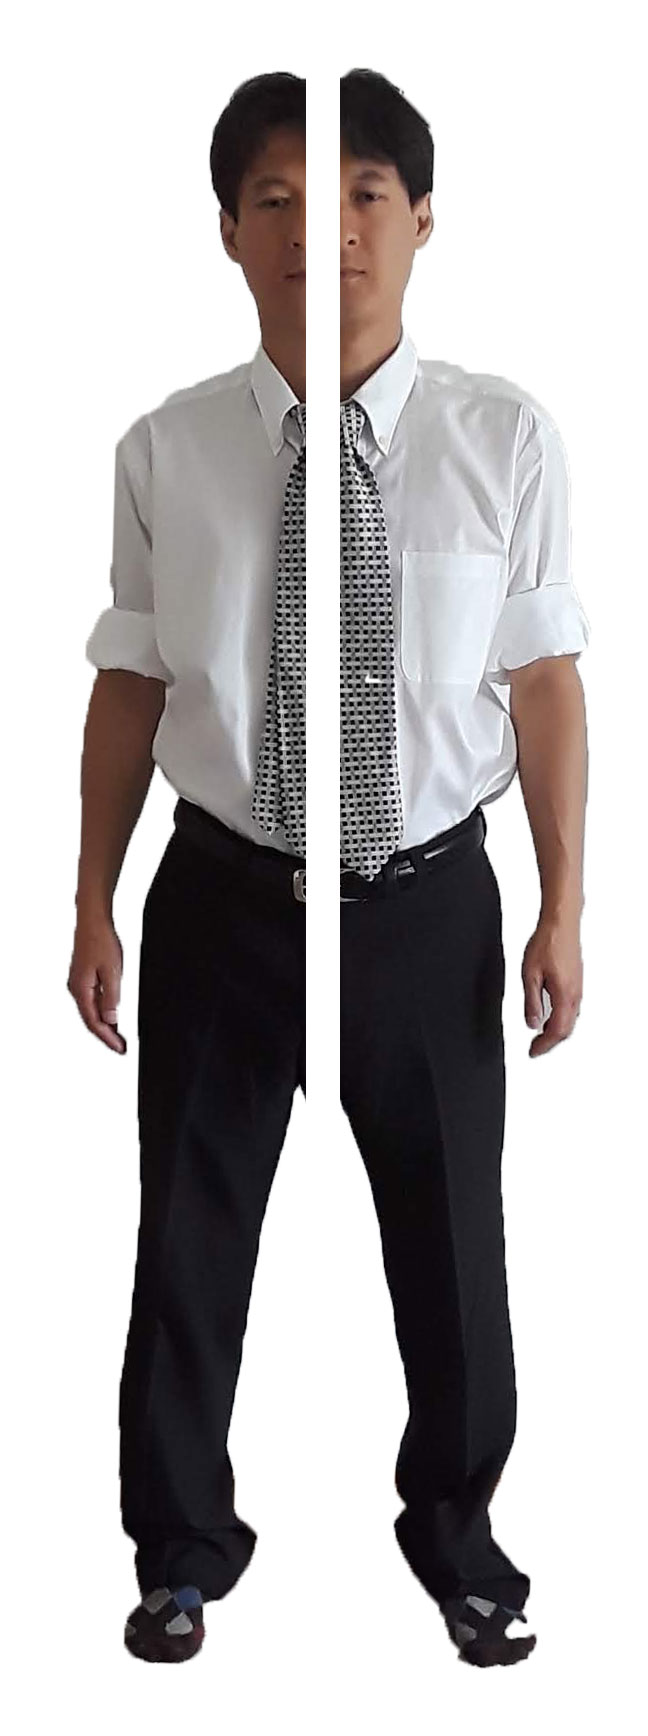
Understanding the spine
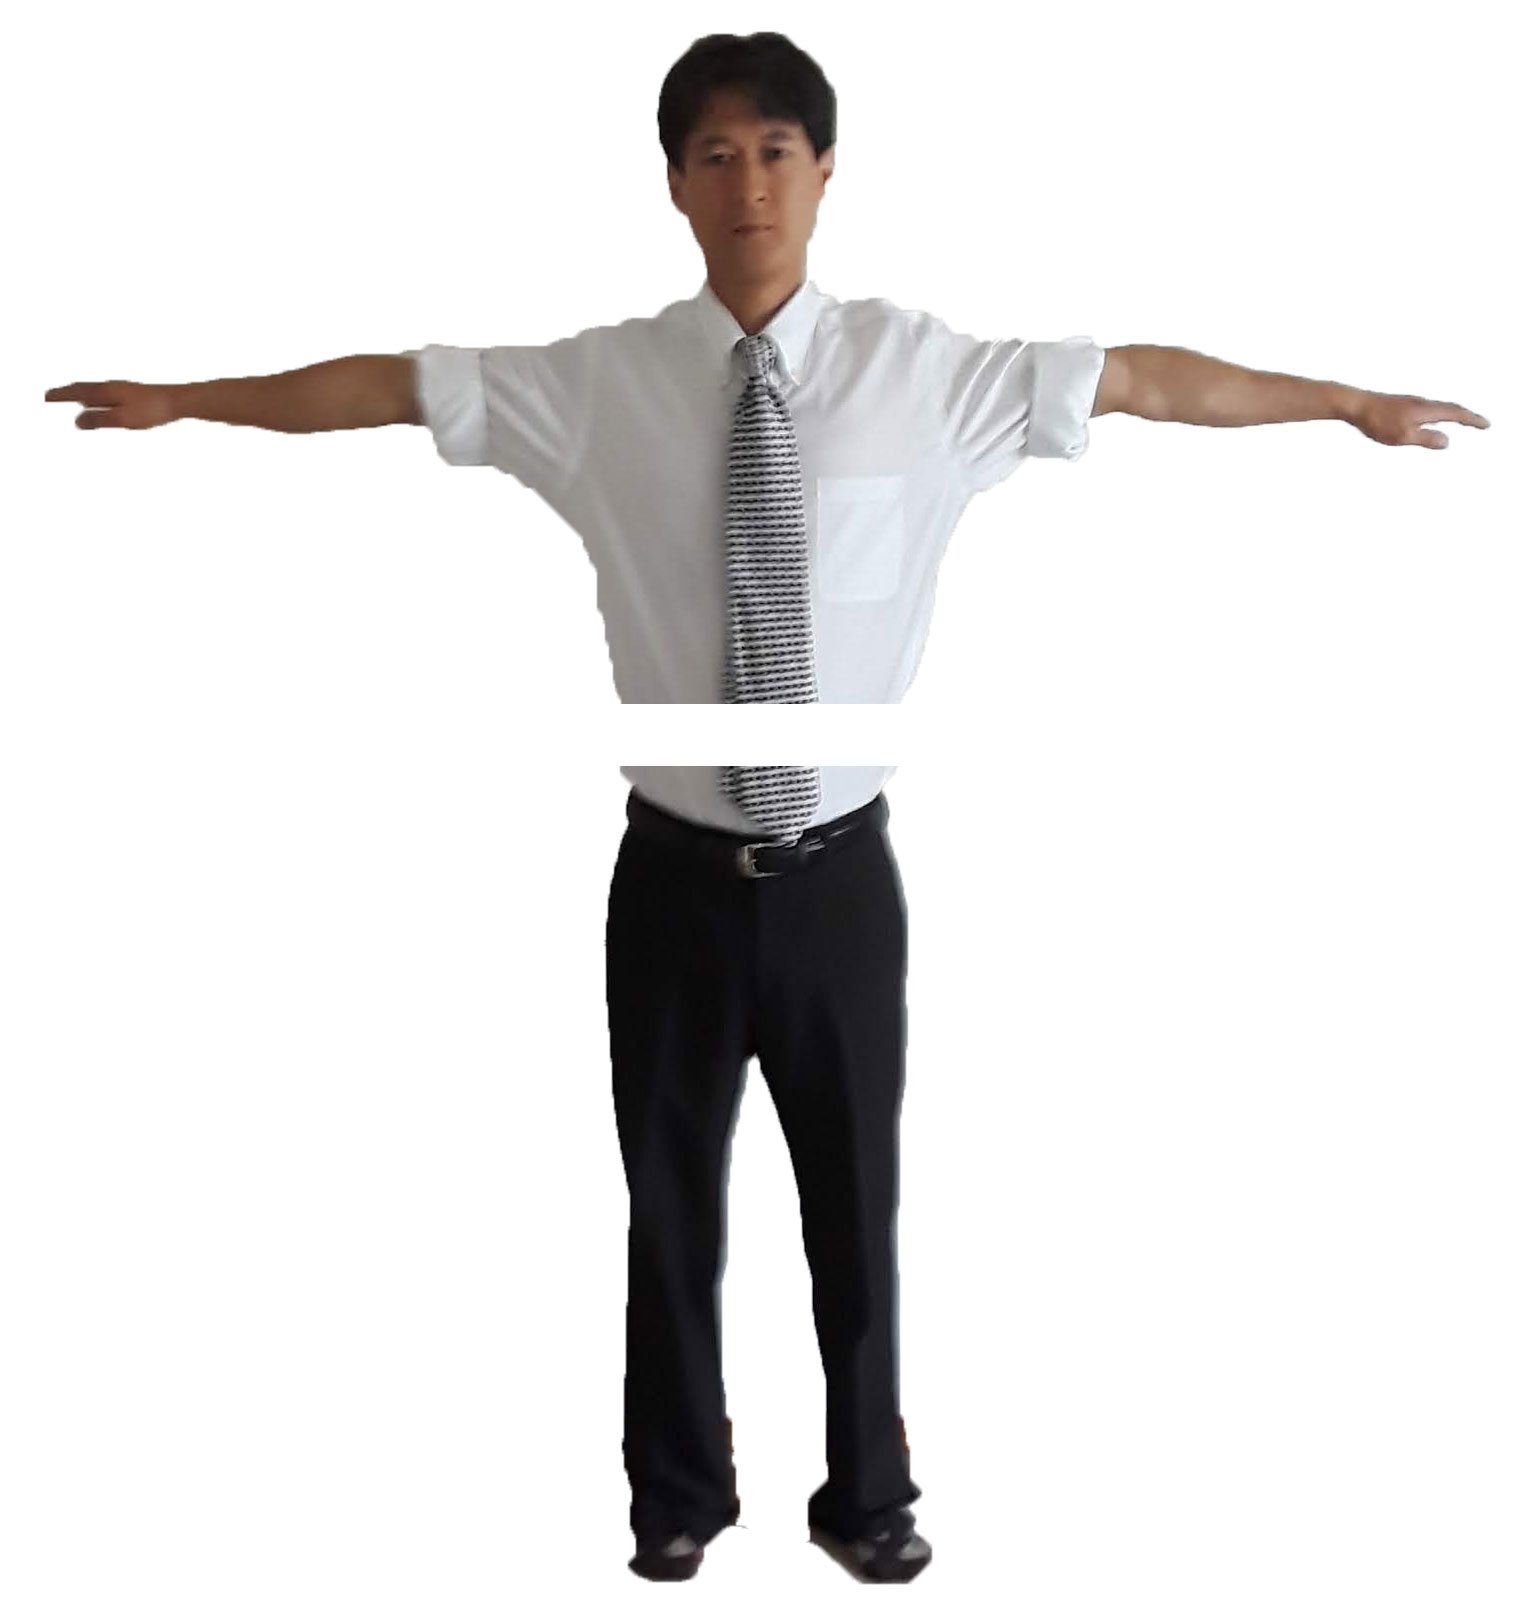
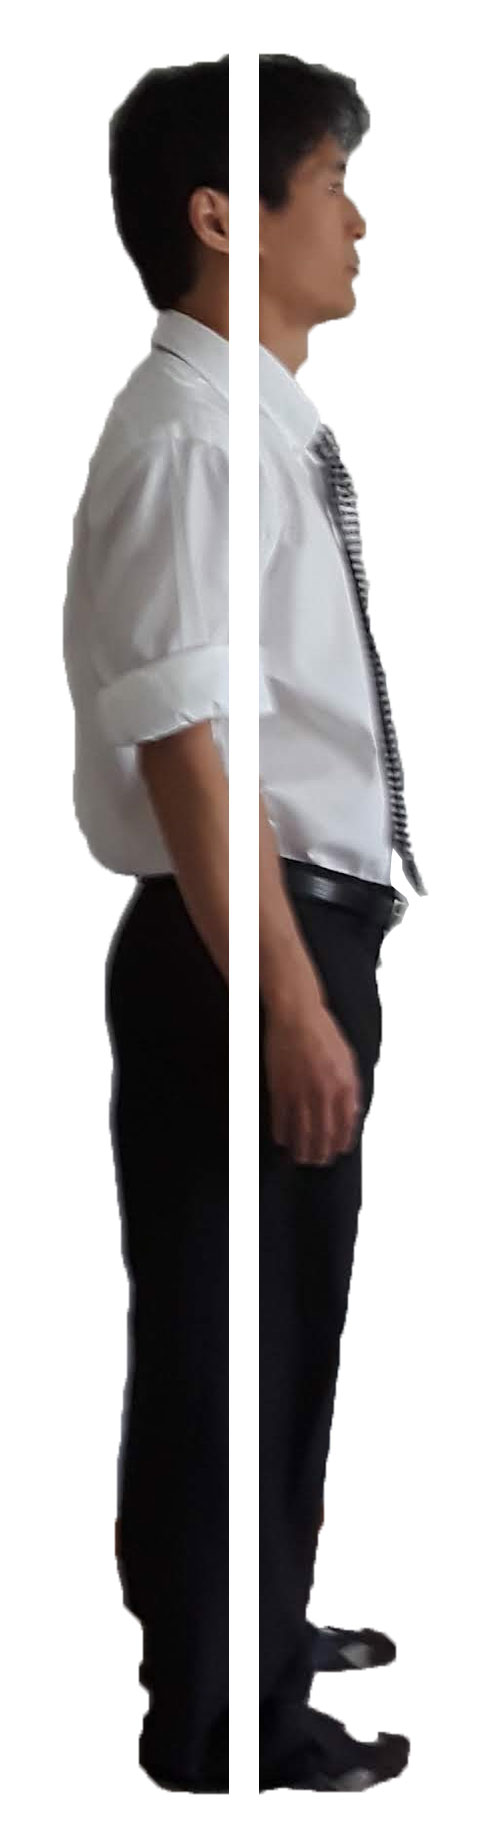
The spine is everything. Spine check: Pelvis and chin is tucked in, ribs pulled in, shoulders should be pulled back.
Planes of Movement
- Horizontal / Transverse Plane: Cuts at the waist.
- Vertical / Medial Plane: Cuts the body in half into left and right sides.
- Frontal / Coronal Plane: Cuts front and back.
Neck Mobility
These practices helps balance out short versus long muscles.
Neck Circles
Make the motions as small as possible:
- Frontal: With your nose, imagine drawing a circle. First dropping your head, moving your head to the left (like an Egyptian), then up, then to the right.
- Vertical: With your ear, imagine drawing a circle. Move your head in much of the same fashion like the frontal exercise.
- Horizontal: With the top of your crown, imagine drawing a circle.


Circular Neck Flies
Lay down on the back with a couch or object close to the top of your head (for a reference). Laying down isolates the body and neck and provides a great neck workout.
- Horizontal: Similar movement as the horizontal neck circle except you have limited motion due to the ground.
- Vertical: Since you can move your head into the ground, the motion is basically lifting your head off the ground and slightly tucking in your chin. This can be a circular motion, and you can do it in both directions.
- Frontal: Same movement as the frontal neck circle.

Tissue Release
Three sized massage balls:
- Small
- Medium
- Large
Laying down on your back, you can use the small ball to massage your cerebellum. Massaging your reptilian brain can help release your “fight and flight response back into your “rest and digest” system. You can do small neck flies and circles. You can also tilt your head (from ear to shoulder motion). You can sway, which is a motion similar to the tilt, but you jut your chin in the opposite direction. These tissue release exercises is a great relaxer for the mind and body.
Laying down on your back, with a small ball between your cerebellum and the ground, make sure your spine is in a straight and neutral position (tucked chin & pelvis). Your arms are at your sides. Gently raise your hands and arms up to the sky, and continue (if you comfortably can) on the same path downward to the ground so that you end up laying on the ground with straight legs, feet together, and straight arms with your hands pointing above your head. You can finish the whole motion by bringing your hands and arms back at your side.
You can also move your hands and arms as if you are making an angel in the snow. When you are done you can slowly remove the ball and put your spine back into a straight neutral position.
Resistant Segmentation
You can you use yours hands to resist certain head movements such as:
- Hand on the forehead to resist a forward motion
- Hand on the back of the head to resist a backward motion
- Hand on the side of the head to resist sideways motion
- Hand on the forehead to resist tucking in your chin (not out)
- Hand on the back of the head to resist an upward motion
You can time your breathing by inhaling on the rest and exhaling on the resisting.
Wall Bridging
Lean into a wall with your forehead pressing into something soft like a towel. Standing with a straight neutral spine.
- Vertical: Rock your chin away from your body, then rock your chin into the tucked in position. You can rise up on your toes to get a deeper rotation as you tuck in your chin, and lower down as your chin goes away from your body (smushing your nose on the wall).
- Horizontal: Use your hand and arm to reach back, which will point your other shoulder to the support you are leaning on. Your body is rotating, but your head position says the same.
- Frontal: Gently take a step to the side and then other other side. You can also widen out your base and just sway your hips from side to side.
Neck Bridging
This is a very advance exercise that requires that you build up to. Make a tripod out of yourself on the ground, by spreading your feet apart and your head on the ground. Use your hands and arms as supports. The three points of ground contacts are the balls of your feet and your head (with hand and elbow support). Be sure your your pelvis is tucked in to ensure a straight spine.
- Vertical: Dropping your knees towards the ground, which helps tuck in your chin. As you almost touch the ground, raise your knees back up so that your legs are straighter, and your chin retracts from being tucked in. As you get more comfortable you can place your hands out from your head to give less support and more mobility (stopping at your nose smushing on the ground). You can move your hands down to under your shoulders.
- Frontal: I think this movement can fit into the concept of the frontal plane. You can evolve from the vertical exercises by rocking side by side by bending one knee at a time. Your hands are underneath your shoulders.
- Horizontal: I think this movement can fit into the concept of the horizontal plane. This movement involves moving your feet side by side in a slow shuffling motion, thus spinning on your head and using your hands as supports. When you feel confident, you can cross your feet and turn upside down with your belly facing the sky. You can start out by just learning the rotation by moving slowly. In the upside down position you can move your bottom closer to the ground, then push out again into your original position. You can sway side to side. You also spin your head.